Grunge effects like textures and scratches can be used to create backgrounds, distress text, or just to add a subtle texture to an element in a design. One of the easiest ways to add texture and scratches is through the use of Photoshop brushes. In this tutorial, we’ll show how you can create a custom scratched surface brush that will be highly useful in your own design work.
And if you like free Photoshop resources, please see our collections of free gradients, free custom shapes, free patterns, and free actions.
Getting Started
The first thing we will need is a photo of a scratched surface. Some type of scratched metal or plastic surface can work very well. For the tutorial, I will be using something that just about everyone will have around the house, a cutting board. I’ll be using a photo of a red plastic cutting board that has all kinds of marks and scratches from knives. The surface is perfect for getting a good grungy effect. If you’re looking for a surface to use, a cutting board or a scratched pan from the kitchen will usually work quite nicely. Otherwise, you can find an old plastic or metal surface and rough it up yourself to create something that can be photographed.
UNLIMITED DOWNLOADS: 50+ Million Add-Ons & Design Assets

Here is the photograph of my cutting board that will be used for this tutorial.
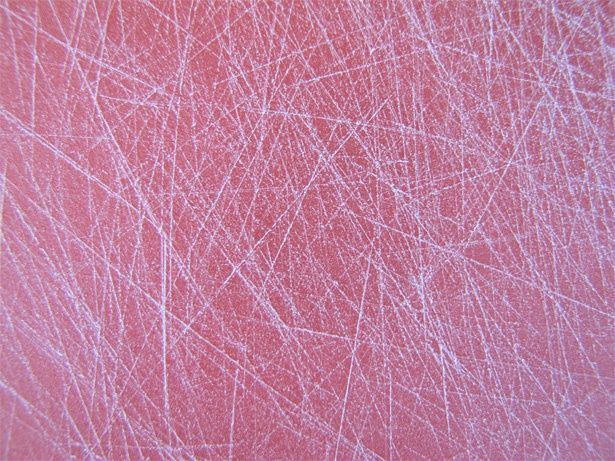
Image Adjustments
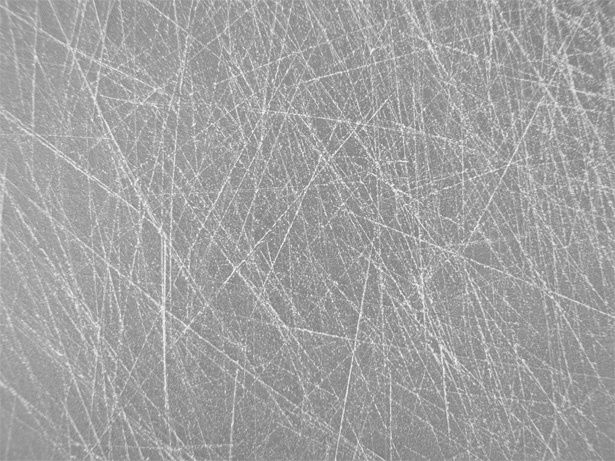
In order to create our brush, we will need to make a few simple adjustments to the photo. First, we’ll desaturate it to remove the color (Photoshop brushes are created without color anyway, so it is easiest to preview the image in the same way that the brush will be created). Go to Image > Adjustments > Desaturate and it should look like this:
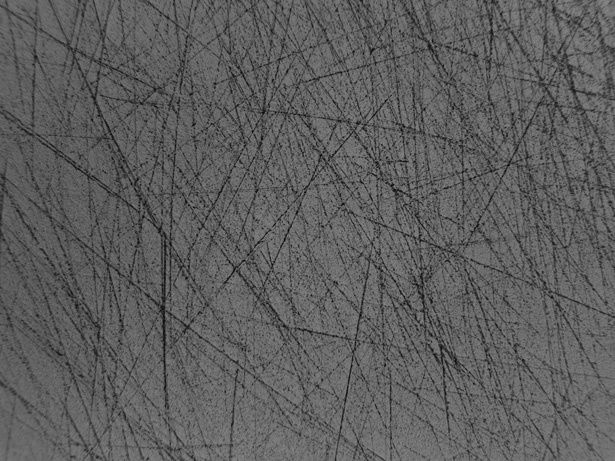
The next thing we’ll do is invert the photo to reverse the light and dark areas. Go to Image > Adjustments > Invert and it should look like this:
Next, we’re going to adjust the levels to make the photo darker. Go to Image > Adjustments > Levels.
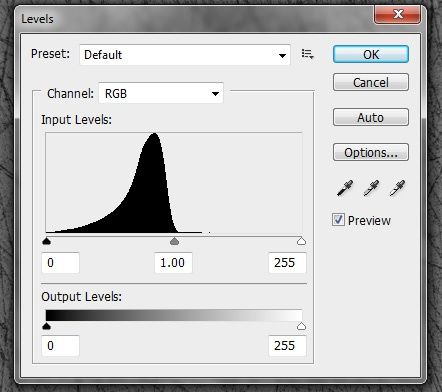
The specific adjustments needed in this step will vary from one photo to the next, but the goal is to create a darker image that still has sufficient contrast between the background and the scratches. For my image, I’m moving the black and gray levels (left and center) further to the right.
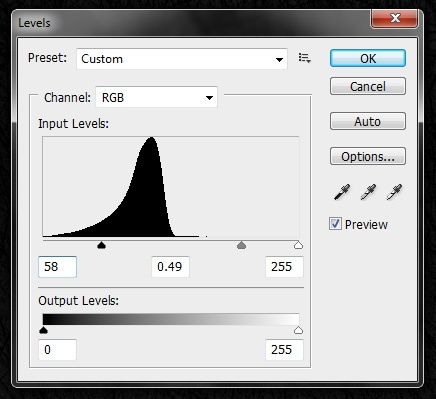
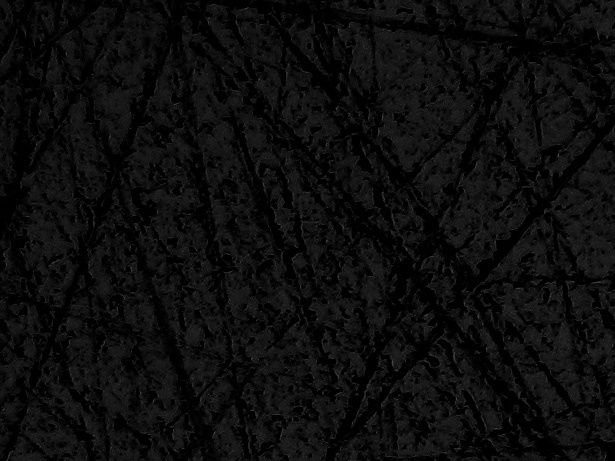
The result is a darker image that looks like this:
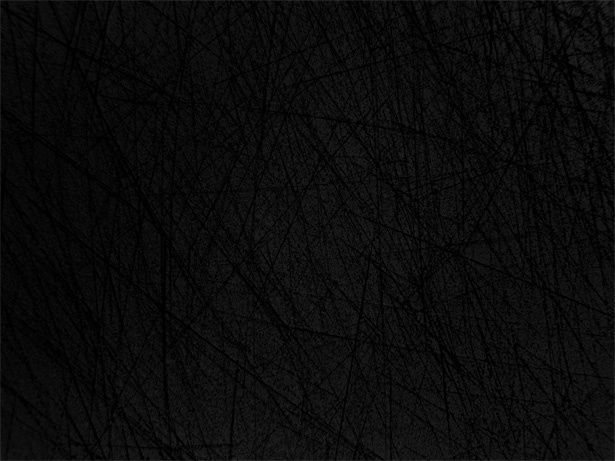
Here is a view at 100%:
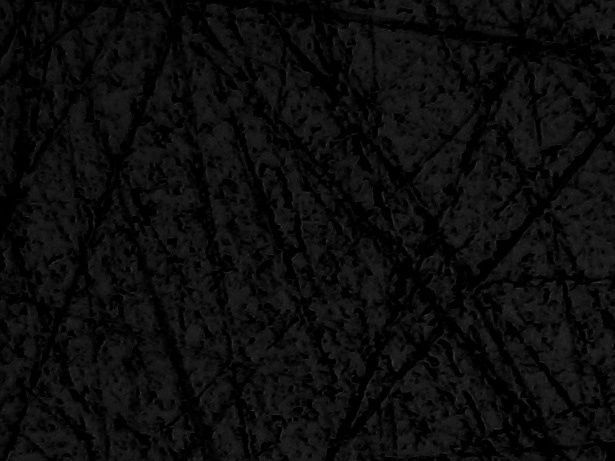
Now, we’ll make another small adjustment with the help of the sharpen filter. Go to Filter > Sharpen > Sharpen. The result will be a slightly sharper image:
Creating the Brush
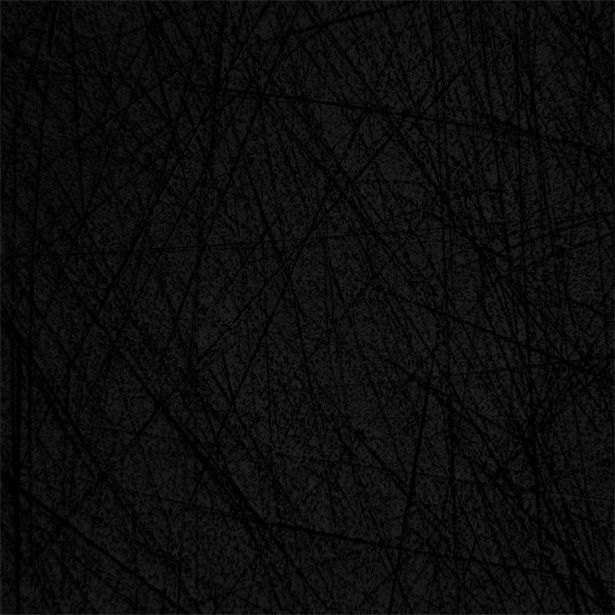
The photo that I am using is 4000 pixels by 3000 pixels, your image will vary depending on your camera and settings. I recommend setting your camera to the highest megapixel setting that it offers. You can always reduce the size of your photo, but increasing the size will result in a poor-quality image. Photoshop allows brushes to be up to 2500 pixels by 2500 pixels. I’m going to create a new file that is 2000 pixels by 2000 pixels that will be used for the brush. Then, I’ll copy my image and paste it into this new file. I’ll lose the part of the image that is on the edges of the photo, but in this case, my photo is sharper in the center.
Here is my image (click on the image to see it in full size):
To create the brush, go to Edit > Define Brush Preset and give your brush a name.

That’s it! You now have a custom brush that you can use any time you want to use scratches in your design.


